Spam filtering is on by default for your StackCP mailboxes, but sometimes it's too aggressive (blocking mail you actually want) or not aggressive enough (letting spam through). StackCP's Junk Mail Filters let you adjust the overall strictness and ...
How to Configure Junk Mail Filters in StackCP
Spam filtering is on by default for your StackCP mailboxes, but sometimes it's too aggressive (blocking mail you actually want) or not aggressive enough (letting spam through). StackCP's Junk Mail Filters let you adjust the overall strictness and allow-list specific senders or domains you always want to receive mail from.
Step 1: Open Junk Mail Filters
- Log in to StackCP.
- Go to Manage Hosting, then Manage on your package.
- Select Junk Mail Filters under the Email section.
Step 2: Adjust the General Filtering Level
In the Junk Mail Filters section, you can set the overall filtering strictness — how aggressively incoming mail is scrutinized for spam characteristics before being flagged or filtered. A stricter setting catches more spam but carries a slightly higher risk of also catching legitimate mail (a "false positive"); a looser setting lets more through but reduces that risk. Adjust this based on your actual experience — if you're seeing too much spam getting through, increase strictness; if you're missing legitimate mail, ease it back.
Step 3: Allow-List Specific Senders or Domains
If a specific sender's mail keeps getting incorrectly filtered, you can allow-list them so their mail always bypasses spam filtering:
- To allow a single address: add it in the format
thataddress@thedomain.com. - To allow an entire domain: use a wildcard, in the format
*@thedomain.com.
You can apply an allow-list entry either at the domain level or for a specific mailbox on the package, depending on whether you want the exception to apply broadly or just to one inbox.
Step 4: Address Outgoing Deliverability Too
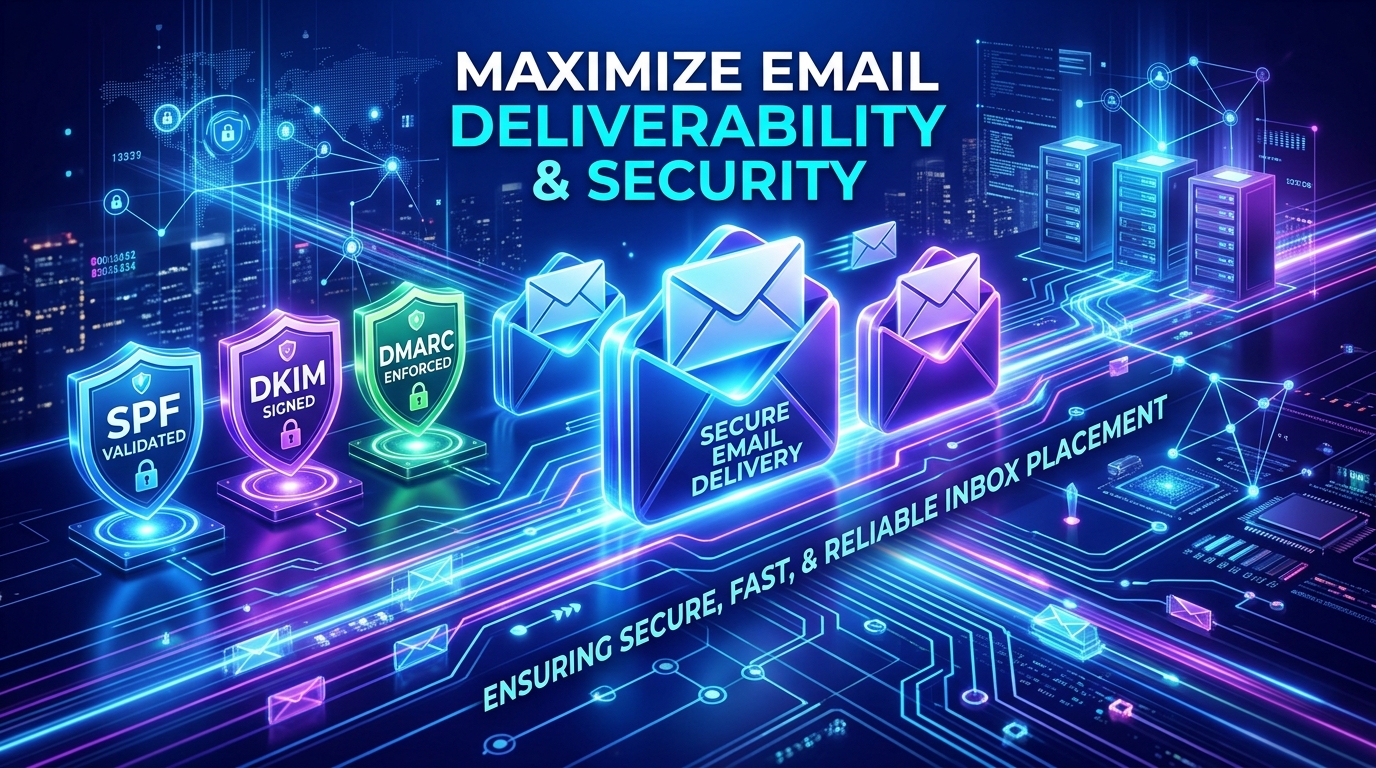
Junk Mail Filters control what happens to incoming mail on your account, but if it's your own outgoing mail that's landing in other people's spam folders, the fix is different: setting up SPF and DKIM (see our companion DKIM guide) helps other mail servers verify your outgoing mail is legitimate, directly addressing this specific issue rather than anything in the Junk Mail Filters section itself.
Common Scenarios and Which Fix Applies
- "A specific sender's emails to me keep going to junk" → Allow-list that sender's address or domain (Step 3).
- "I'm getting too much spam in my inbox" → Increase the general filtering level (Step 2).
- "Legitimate mail is being filtered as spam" → Decrease the general filtering level, or allow-list specific known-good senders.
- "My own outgoing emails are landing in recipients' spam folders" → Set up SPF and DKIM (see our companion guides), since this is an outgoing deliverability issue, not something Junk Mail Filters addresses.
Common Mistakes Beginners Make
- Setting filtering to maximum strictness immediately, then being surprised when legitimate mail starts getting caught. Adjust gradually based on actual experience rather than starting at the most aggressive setting.
- Confusing incoming spam filtering with outgoing deliverability. These are two different problems with two different fixes — Junk Mail Filters handles what arrives in your inbox; SPF/DKIM/DMARC (covered in our companion guides) affect how your outgoing mail is perceived by others.
- Allow-listing an entire domain (
*@thedomain.com) when only one specific sender needed to be trusted, unnecessarily widening the exception.
Troubleshooting
"I allow-listed a sender but their mail is still being filtered."
Double-check the exact format used (address@domain.com for a single address, *@domain.com for a whole domain) and confirm you applied it to the correct mailbox or domain level.
"My filtering level changes don't seem to be having an effect." Allow some time for the change to take effect, and test with a fresh incoming email rather than expecting previously filtered mail to be reprocessed retroactively.
"My own sent emails are landing in spam for recipients." This isn't controlled by Junk Mail Filters — see our companion DKIM guide, and consider setting up a DMARC record (also covered in this series) to improve outgoing deliverability.
A Simple Maintenance Routine
Rather than configuring Junk Mail Filters once and forgetting about them, a light periodic check helps keep the balance right as your email patterns change:
- Monthly, skim your Junk/Spam folder for anything that shouldn't be there — a supplier, a customer, a service you signed up for. Allow-list the sender if you spot a recurring false positive.
- If spam volume feels like it's increasing, consider tightening the general filtering level slightly, then monitor for a week or two to confirm you're not also catching legitimate mail.
- Whenever you add a new business-critical sender (a new supplier, a new SaaS tool sending important notifications), proactively allow-list them rather than waiting for their mail to be misfiltered first.
Looking for High-Speed, GST-Compliant Web Hosting in India?
Deploy your website on ThinkOnline.IN's autoscaling Samsung NVMe SSD infrastructure with Free SSL, 1 Tbps+ Anti-DDoS, and 24/7 India support from ₹75/mo.